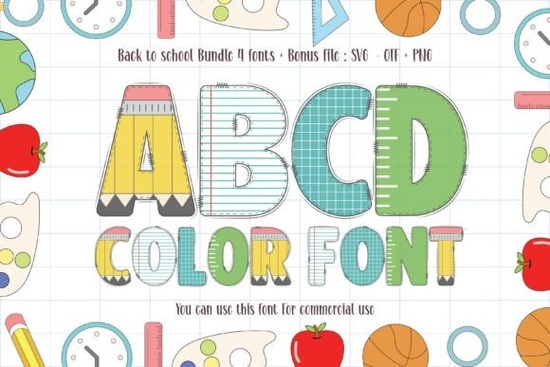
If you need a playful, ready-to-use typeface for classroom materials, kids’ apparel, or seasonal crafting, Back to School Font delivers exactly that. This thick-lettered, full-color typeface removes the extra step of manually adding shades or outlines, letting you drop it straight into your design software and get consistent results. Whether you are creating teacher stickers, print-on-demand t-shirts, or homeschool worksheets, the built-in color layers save time while keeping your layouts bright and readable.
What makes this typeface stand out for classroom projects?
Most display fonts require manual fills or strokes to look vibrant. This color font comes pre-layered, so the hues and depth are already baked into the character files. The thick letterforms hold up well at smaller sizes, making them reliable for product tags, lunchbox labels, and activity books. Because the shapes are bold and rounded, they pair naturally with simple sans-serifs for body text. If you enjoy working with playful typefaces, you might want to explore more options in our collection of bright, classroom-inspired lettering that follows the same easy-to-use format.
Which file formats work best for crafting and print-on-demand?
Color fonts behave differently than standard single-color typefaces. To keep the built-in colors intact, you will typically work with OTF (OpenType-SVG) files. Here is what to expect across common platforms:
- Adobe apps: Full SVG support. Colors render automatically when you type.
- Canva: Color font support remains limited. Export text as a PNG elsewhere first.
- Cutting software: Programs like Cricut usually strip embedded colors. Convert text to outlines or upload a PNG for print-then-cut.
- Print-on-demand: Always upload flattened PNG files with transparent backgrounds.
How do I install and troubleshoot color rendering?
Installation matches standard fonts. On Windows, right-click the extracted file and select Install for all users. On Mac, double-click and add it via Font Book. After restarting your program, select the typeface and type normally. If letters appear solid black, check your OpenType settings. Some programs default to standard glyphs instead of SVG color glyphs. Updating your software or switching the rendering mode usually fixes this. Keep a backup of your extracted files and license documents in a dedicated folder for easy access.
What licensing details should small business owners check?
Before adding any typeface to commercial products, review the included license file. Most marketplace fonts offer a commercial license covering physical items and digital downloads, but restrictions vary. Pay attention to these points:
- Whether the license covers unlimited end products or has a sales cap.
- If you can use the font in editable templates sold to other creators.
- Whether web embedding requires a separate upgrade.
Keeping a simple spreadsheet of your purchased licenses protects your shop from compliance issues. You can grab the official Back to School Font directly from the creator’s storefront and review the full commercial terms before your first sale.
Which design projects get the best results?
Thick, colorful lettering works best when it has room to breathe. Use it for short headlines or two-line phrases rather than long paragraphs. Proven applications include classroom name tags, seasonal t-shirts, birthday invitations, and printable worksheets. Pair the typeface with clean backgrounds and simple shapes. The built-in colors already draw attention, so avoid heavy drop shadows or busy textures that compete with the letterforms.
What should I verify before exporting?
A quick pre-flight review prevents misprints and blurry uploads. Match your document color mode to your output: RGB for screens and CMYK for professional printing. Flatten text layers or convert to outlines for customer downloads. Run a test print on your actual material, since color fonts can shift slightly based on ink absorption or heat press settings.
Keep this quick checklist handy before publishing:
- Confirm the license covers your exact sales channel.
- Export at 300 DPI for print and 72 DPI for web.
- Save a master editable file alongside flattened exports.
- Test one physical sample to check color accuracy.
- Name files clearly with version dates to avoid upload errors.
Start with a single mockup, verify the output quality, and scale your listings once the workflow feels consistent.
Get Started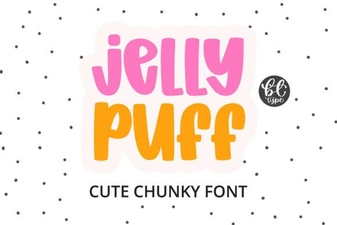 Creative Projects Using Jelly Puff Font
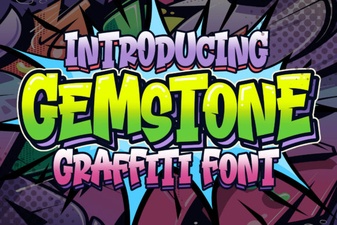 Crafting with the Gemstone Font Design Tool
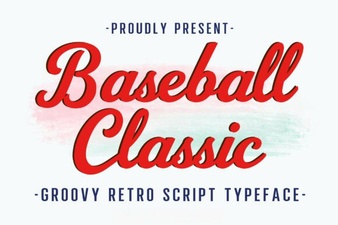 Baseball Typography for Creative Design Projects
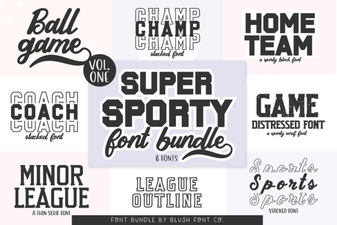 Super Sport Bundle Font: Design & Usability Guide
 Pokenom Font Design & Download Guide
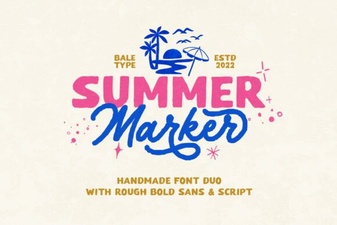 Creative Summer Marker Font Projects