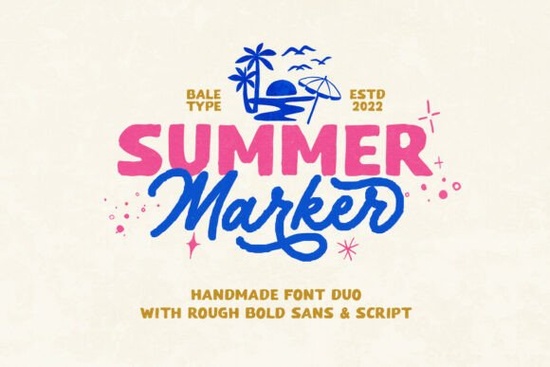
When you need a typeface that feels genuinely hand-drawn without looking messy, Summer Marker Font gives you a reliable duo that works straight out of the box. The package pairs a bold sans with a monoline script, both carrying that rough, organic texture that reads as authentic rather than digitally manufactured. Designers, crafters, and print-on-demand sellers use this style when they want branding, stickers, or quote graphics to carry a relaxed, retro vibe.
What makes this font duo work for handmade projects?
The strength of this set lies in the contrast between the two styles. The bold sans handles headlines and product names with clear readability, while the monoline script adds a personal touch to signatures or accent words. Because both fonts share the same hand-crafted foundation, they sit together naturally on the same layout. You do not need to spend time adjusting tracking or forcing alignment. The rough edges are baked into the glyphs, so the texture remains consistent whether you scale the text for a small sticker or a large tote bag print.
If you are building a small business identity or preparing seasonal merchandise, this duo covers the most common design needs. The organic finish works especially well on kraft paper, canvas, and matte vinyl, where the slightly uneven strokes mimic real marker ink.
Which design styles pair best with rough, organic type?
Hand-drawn fonts shine when you give them room to breathe. Pairing them with clean supporting elements keeps the layout from feeling cluttered. When I set up quotes or logotypes, I usually place the script on top or bottom and let the bold sans carry the main message. If you prefer a cleaner sans for body text or secondary details, you might browse options like a smooth sans family to balance the rough edges. For projects that need a slightly different handwritten feel, a playful display typeface can complement the script nicely without competing for attention. You can also preview the full character set and download this handmade font duo when you are ready to start building your layout.
Keep these pairing rules in mind:
- Limit font families to two or three. The duo already covers display and accent roles, so add a neutral sans only for small print.
- Use high-contrast backgrounds. Dark ink on light paper or white text on muted tones keeps the rough strokes readable.
- Avoid heavy effects. Drop shadows or thick outlines can muddy the organic finish. Let the built-in roughness do the work.
How do I set up and use the multi-language characters?
One practical advantage of this package is the multi-language support. If you sell to international customers or create multilingual packaging, you will find accented characters and extended Latin glyphs ready to use. Most design software recognizes these automatically when you switch your keyboard layout or paste translated text. In programs like Illustrator or Canva, you can open the glyph panel to locate special characters or alternate script swashes.
Before finalizing any layout, run a quick test with your target language. Type out common phrases, check for missing glyphs, and verify that the rough edges do not break apart at smaller sizes. If a character looks too thin, increase the point size slightly or switch to the bold sans for that specific word. You can also explore Summer Marker Font directly to review the full character map and licensing details before downloading.
What should I check before sending files to print or cutting?
Hand-crafted fonts behave differently than geometric typefaces when they move from screen to production. The uneven strokes can cause cutting machines to overcomplicate paths, and some print platforms may flatten textures unexpectedly. Follow these steps to keep your files production-ready:
- Convert text to outlines. This locks the rough edges in place and prevents font substitution.
- Simplify complex paths. Use your software’s pathfinder tool to remove overlapping nodes, especially in the script letters.
- Test cut a small sample. Run a 2-inch test piece to check how your machine handles the organic strokes.
- Export at 300 DPI for print. Vector exports keep the edges clean for scaling, while rasterized mockups stay sharp.
- Check licensing for commercial use. Verify that your intended products fall within the allowed usage terms.
Working with a handmade font duo does not require advanced typography skills. It only asks for careful spacing, clean file preparation, and a clear idea of where the rough texture will add value. When you match the right background, keep supporting elements simple, and test your output method early, the results look intentional and professionally finished.
Quick next step: Open your design software, type a three-word headline in the bold sans, place a single accent word in the monoline script, and export a test PNG at 300 DPI. Check the edges on screen, print a draft on your target material, and adjust the size only if the rough strokes lose clarity. Once the test looks clean, you are ready to build the full layout.
Learn More Fresh Design Ideas for the Perfect Lemonade Font
 Bird House Font: Creative & Usable Typography Ideas
 Creative Projects Using Jelly Puff Font
 Crafting with the Gemstone Font Design Tool
 Baseball Typography for Creative Design Projects
 Super Sport Bundle Font: Design & Usability Guide